When painting your home by yourself, you will need to give yourself a decent amount of time to get the residential painting job done right. If you think you can get everything sorted in an afternoon, then you are sorely mistaken, and it will probably cause more hassle than it is worth to even try! You will need to remove all the furniture form the room, or at least pile it in the middle of the room, and cover it, leaving adequate space to paint. Then you will need to prepare the walls properly, ensuring that you have sugar soaped all the dirt off, as otherwise it can come through the new paint, undoing all of your hard work! Taping off edges will take a while, and then the painting, second and potentially third coats, as you will need to ensure that there is no patchiness, and that you get a solid, even color across all the walls. After the paint has dried, you need to remove the tape, and give it another half of a day before you replace any furniture, or rehang any pictures and the like. You will probably need a solid day for a room, depending on how large it is, but if you can afford this time, there is no reason why you need to bother paying for decorators to do it all for you, given that there is much of it that can be done easily by yourself!
1. Sugar soaping the walls is essential, and a part of the process that many people miss out, as they are keen to just get on with it, wanting fast results! You should put down ground sheets, as the water can go everywhere, and ensure that you are getting all the muck off before you apply the paint, as otherwise the dust and dirt can mix with the paint, causing inconsistencies in the color, especially if the color is white! You don’t want murky patches on your nice white walls!
2. If you have put up shelves or drilled into the wall for any reason, and you want to smoothen out the surface, then you should use filler to cover the holes up, scraping over it as it is wet, and then sanding it slightly when it is dry, to get a smooth, flat finish. You will find that the paint may take differently to the filled areas, and that they may need a couple of coats extra in those places.
3. Tape off edges that you need to be clean and crisp, and ensure that you don’t leave the masking tape on for long afterwards, as this can set into the paint, and peel off the wall finish underneath if it is left on for too long! Do not rely too heavily on the tape to keep your lines nice, as paint can get underneath it, and you will have a lot of work to do to sort it out if that is the case!
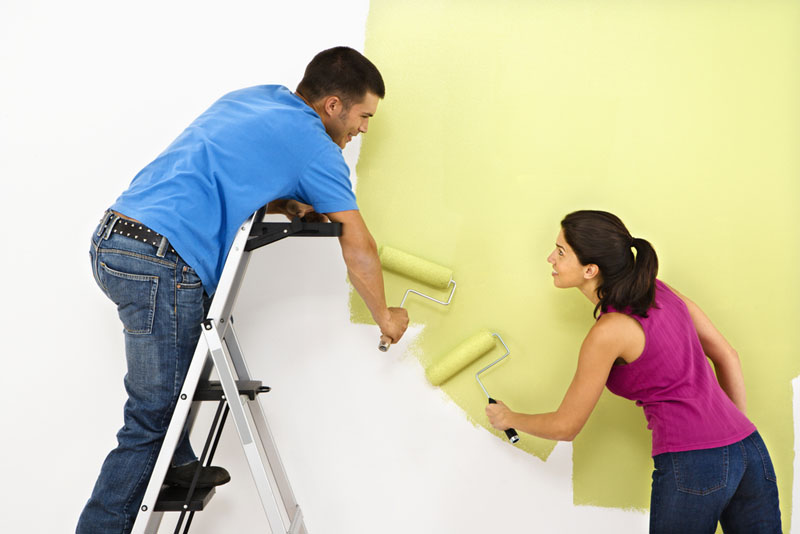
4. Apply your paint with a roller, keeping the amount of paint consistent across the roller, and avoiding thicker patches on the walls. Thicker paint will obviously dry less quickly, and you will find that the patches where it is thicker will be darker during the drying process, which can be a cause for alarm! The whole wall should dry the same color eventually, so don’t panic if this happens. Don’t panic if the first couple of coats look strange as well. Paints differ in quality and coverage, and you will find that you will always need a couple of coats, and perhaps three or four for cheaper paint.
This DIY Painting article is contributed by: Tenancy Cleaners Bayswater
Please read our guidelines for guest posting.

