How to Remove Wallpaper: A DIY Guide (and When to Call a Pro)

Wallpaper looks simple to take down until you are three hours in, standing in a pile of soggy paper, staring at a wall that still has half a pattern glued to it. Some wallpaper really does peel off in clean sheets. Some fights you for every square foot, and a fair amount of it hides plaster or damaged drywall underneath. This guide walks through the DIY process for the jobs you can handle yourself, then draws a clear line at the point where a professional saves you money instead of costing it.
How to Remove Wallpaper: The Basic DIY Steps
For strippable or peelable wallpaper on sound drywall, removal is a real weekend project. Start by clearing the room, covering the floor with a drop cloth, and taping plastic over outlets and switches so moisture stays out of the electrical. Then work in this order:
- Test a corner first. Lift a bottom corner with a putty knife and pull slowly at a low angle. If it peels away in a large sheet, you likely have strippable wallpaper and the job will go quickly.
- Score the surface. For paper that will not lift cleanly, run a scoring tool over the wall in small circles. This punches tiny holes so your solution can reach the adhesive. Use light pressure so you do not gouge the wall underneath.
- Soak the wallpaper. Mix hot water with a wallpaper stripper solution and apply it with a spray bottle or sponge, working in sections about three feet wide. Let it sit and soften the glue before you touch it.
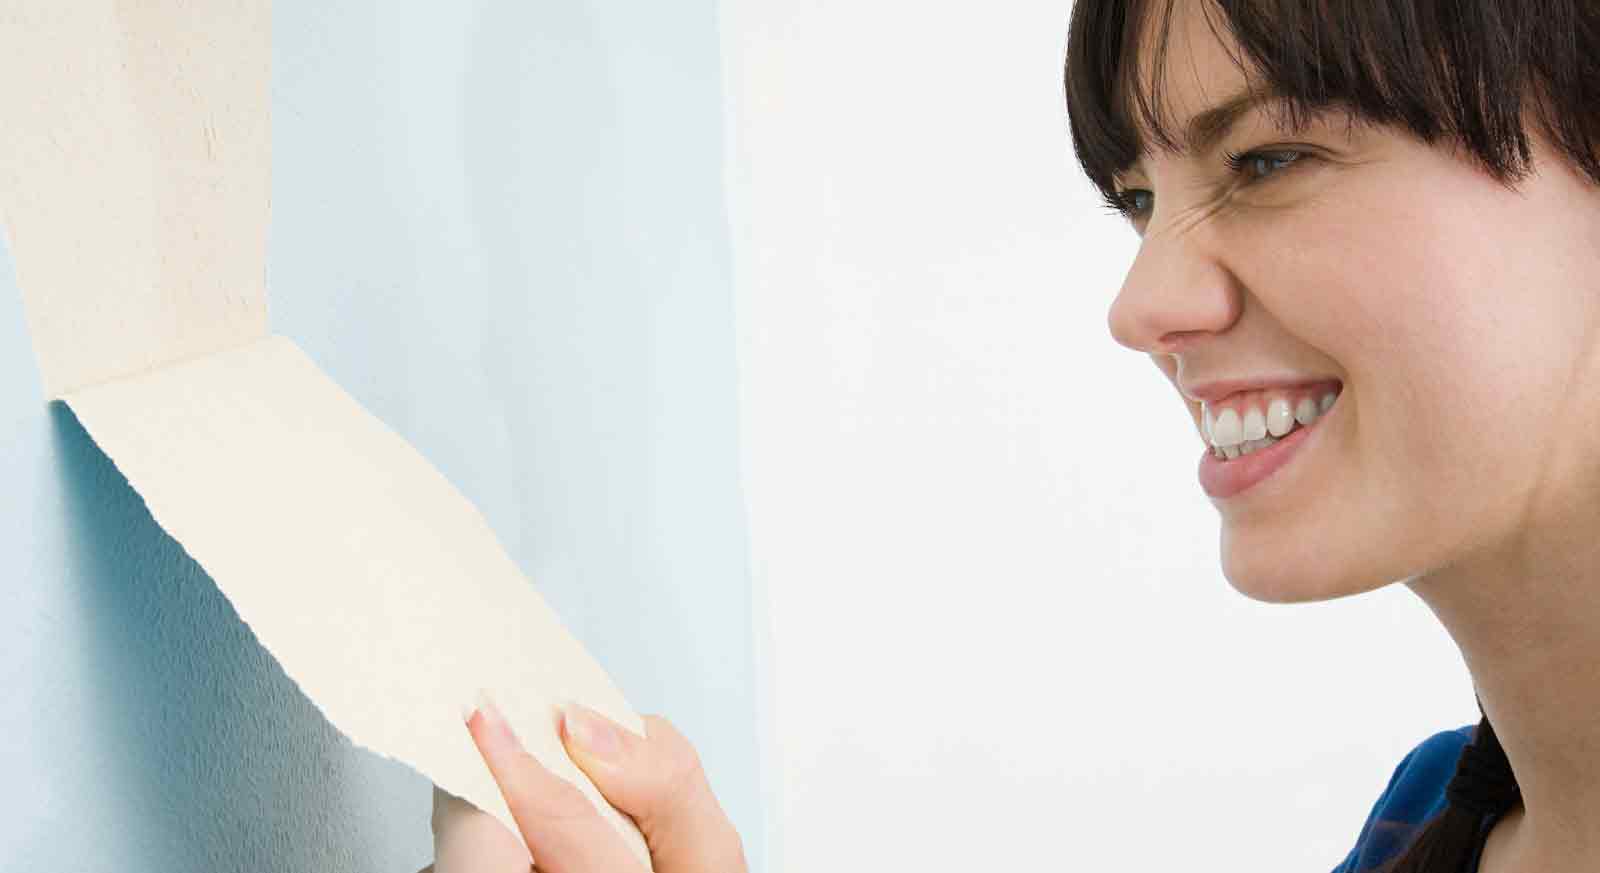
- Scrape from the top down. Once the paper is saturated, use a wide putty knife or scraper to lift it away, working top to bottom. Keep the blade at a shallow angle to avoid digging into the drywall paper.
- Clean the adhesive residue. After the paper is off, the glue is still there. Wash the wall down until it no longer feels slick or tacky, then let it dry fully before any priming or painting.
Work one section at a time and keep a garbage bag nearby. Wet wallpaper is heavy and dries into a mess that is hard to clean up later.
The single most common DIY mistake we see is rushing the soak. If the adhesive has not softened, the scraper starts tearing the drywall paper instead of the wallpaper, and a two-hour job turns into a repair job.
How to Remove Wallpaper Without Damaging the Wall
Protecting the wall is mostly about patience and pressure. The drywall behind your wallpaper has a thin paper facing, and once you tear through it you are into skim-coating and sanding. A few habits keep that from happening.
- Soak long enough. Let the stripper solution work for the full time on the label. A properly softened section releases with almost no force.
- Use a wide, dull-edged scraper. A 4 to 6 inch drywall knife with rounded corners spreads pressure out. Sharp utility blades and narrow scrapers dig in and leave gouges.
- Keep the angle low. Hold the blade nearly flat against the wall. A steep angle acts like a chisel.
- Stop when the paper facing lifts. If the drywall itself starts peeling with the wallpaper, that section needs steam or a gentler approach, not more force.
Older metro Atlanta homes add one more variable. Bungalows and pre-war houses inside the perimeter, from Druid Hills to Decatur, often have plaster walls rather than drywall. Plaster does not forgive aggressive scoring or soaking the way drywall does, and steam can loosen it from the lath if you overdo it. If your scoring tool feels like it is hitting something hard and brittle, stop and read the next section carefully.
Stop and Call a Pro: The DIY Gates
DIY makes sense for a small room of strippable paper on healthy drywall. It stops making sense fast when any of the following show up. These are the jobs where our crews spend more time fixing failed DIY attempts than we would have spent doing the removal from the start.
1. Plaster walls or a historic home
Plaster in older Athens, Druid Hills, and Decatur homes cracks and separates under the moisture and scraping that drywall shrugs off. One wrong pass can turn wallpaper removal into a plaster repair. If your walls predate the 1960s, get a professional set of eyes on the project before you soak anything.
2. Multiple layers of wallpaper
When you start peeling and find a second, or third, layer underneath, the difficulty multiplies. Older adhesives, painted-over wallpaper, and mismatched layers rarely release evenly. This is a full afternoon that becomes a full weekend, and the wall condition underneath is a gamble.
3. Adhesive that will not release
Some glue simply refuses to let go, especially on water-resistant or vinyl wallpaper that was never meant to come down easily. If you have soaked, scored, steamed, and the paper is still bonded, you are past the point where more effort helps. A pro has commercial steamers and the technique to remove it without destroying the wall.
4. The drywall is already tearing
If the drywall facing is coming off with the wallpaper, or you find soft spots, stains, or crumbling surfaces, the wall needs repair, not just removal. At that point wallpaper removal and wall repair are one connected job.
When you hit any of these gates, that is the moment to bring in professional wallpaper removal in metro Atlanta. SPPI has served the greater Atlanta area since 1984, our W-2 crews are supervised daily by English-speaking foremen, and every job carries a written workmanship warranty. If removal exposes damaged walls, we also handle the drywall repair after wallpaper removal so you get one smooth, paint-ready surface from a single contractor instead of coordinating two.
We strongly recommend removing wallpaper before painting rather than painting over it. Paint traps moisture against the old adhesive, and the seams and bubbles telegraph right through the new finish within months.
After Removal: Getting the Wall Paint-Ready
Stripping the paper is only half the work. A clean, primed, smooth wall is what makes the new paint or new wallpaper look right. Wash off every trace of adhesive, let the wall dry, patch any dings or torn facing, sand smooth, and prime before you finish. Skipping the primer step over old adhesive is a classic reason paint peels a season later.
If you would rather hand off the whole thing, we use premium Sherwin-Williams and Benjamin Moore products as our standard and provide free, detailed, itemized estimates with a 48-hour response window. Call 770.985.3075 or request an estimate online and we will take a look at your walls before quoting.
Frequently Asked Questions
How do you remove wallpaper glue?
After the paper is off, mix hot water with a little dish soap or a wallpaper adhesive remover, sponge it onto the wall, and let it sit for a few minutes to dissolve the glue. Wipe the residue away with a sponge or a wide scraper, rinsing often, until the wall no longer feels slick or tacky. Let it dry completely before priming. Glue left on the wall keeps primer and paint from bonding, which is why residue removal is not a step you can skip.
Should I remove wallpaper before painting?
Yes. We strongly recommend removing wallpaper before painting rather than painting over it. Painting over wallpaper risks peeling, bubbling, and visible seam lines as the paint pulls at the old paper and traps moisture against the adhesive. Full removal, adhesive cleanup, and priming give you a stable surface that holds paint for years. SPPI offers full wallpaper removal with steamers and adhesive-residue stripping as part of our prep services.
How long does it take to remove wallpaper?
A small room of clean, strippable wallpaper on sound drywall is a realistic weekend DIY project. Multiple layers, stubborn adhesive, plaster walls, or damaged drywall can multiply that time and often call for professional tools. If you are unsure what is behind your paper, a quick assessment before you start saves you from an unpleasant surprise mid-project.
Browse the rest of our SPPI Blog for more residential, commercial, and DIY painting tips across the metro Atlanta area.